Marvel Star Wars stats and fun pages!
|
|||||||||||||||||||||||||||||||||||||||||


Main cover and three variants


Rogue One: A Star Wars Story


|
Novel and Junior novel |
Graphic Novel and International Variant |
Trade Paperback |
|
Issue 1 and variants
|
Issue 2 and variants |
Issue 3 and variant |
|
Issue 4 |
Issue 5 |
Issue 6 |


Iron Eclipse


Published by Dark Horse Comics, 2012
Written by John Ostrander
Illustrated by Stephane Roux and Julien Hugonnard-Bert

Published by Del Rey/Ballantine, 2008.
Written by Sean Williams.
The Force Unleashed (Dark Horse)

Published by Dark Horse Comics, 2008.
Written by Haden Blackman. Illustrated by Brian Ching, Bong Dazo, Wayne Nichols

-
Published by Del Rey/Ballantine, 2010.
-
Written by Sean Williams.
|
The Han Solo Trilogy: volume #1: The Paradise Snare The Han Solo Trilogy: volume #2: The Hutt Gambit The Han Solo Trilogy: volume #3: Rebel Dawn
Note: The Sci-Fi Book Club edition is missing the epilogue of The Hutt Gambit. |


|
Lando Calrissian and the Mindharp of Sharu Lando Calrissian and the Flamewind of Oseon Lando Calrissian and the Starcave of Thonboka
Note: The first two volumes were released in hardcover by the Sci-Fi Book Club. It is believed that the third volume was never produced..
|


|
Note: Han Solo and the Lost Legacy was in fact produced in hardcover.
|


Han Solo and the Corporate Sector Sourcebook


Note: This magazine features a short story by David West Reynolds and artwork by Chris Trevas. As of 3/07, this July 1999 issue of Dig magazine is still available as a back issue. Click here for details.
Dark Horse Presents: DHP Jr.: Luke Skywalker’s Walkabout


A Decade of Dark Horse #2: This Crumb for Hire

Boba Fett: Enemy of the Empire #1-4

|
|


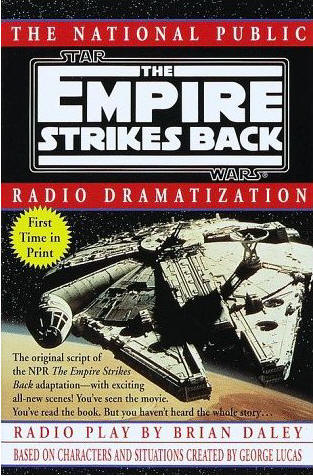
Star Wars: The Original Radio Dramatization


The Lost Jedi Adventure Game Books


|
The Lost Jedi Adventure Game Books were a 'Choose-Your-Own-Adventure" style two-book series, comprising Jedi Dawn and The Bounty Hunter. These titles were released only in the UK. Jedi Dawn features an error; it's missing entry #300, which is necessary for completing the adventure correctly. This is corrected in the compilation book The Lost Jedi, which collected both titles. Lost Jedi: Book 1: Jedi Dawn While there may be a few ways for Havet Storm to achieve the final outcome, the ideal path is no easy task to find, and the following presents the most cinematic and heroic pathway through that allows the reader to read through the adventure without the need for dice rolls and other time-consuming game elements, without dying (of course), and without repeating circuits that the player oftentimes falls into when making less-than-ideal choices the first time. The reader is by all means free to play the game and find another path if she so chooses. This timeline is interested in providing a story for those who don't have the time to devote to that. Note: Havet Storm is required to have the strength, dexterity and skill to accomplish certain tasks. As we know Storm succeeded, since he appears in not only Book 2: Bounty Hunter, but later Expanded Universe stories, these pathways reflect the fact that he succeeded in those areas.
1-31-80-(503)-46-141-216-218-94-(516)-101-17-34-97-2-39-185-(569)-307-142-173-(565)-204-(573)-(574)-(575)-300-346-(557)-182-(616)-211-72-150-161-224-(515)-350-(525)-11-169-190-(521)-221-417-309-(517)-(530)-227-199-225-52-86-50-59-99-530-546-182-166-216-9-35-(578)-91-(563)-203-(580)-99-216-77-105-140-106-124-(502)-122-128-(582)-122-121-(572)-(590)-230-248-265-269-312-(592)-274-(553)-(595)-313-(603)-334-(554)-315-336-348-381-348-370-348-335-358-356-368-342-367-357-393-373-374-375-376-400-(608)-380-405-362-(606)-378-396-363-382-364-(608)-388-389-399-411-397-408 (End)
Although there are no official chapter titles, in the course of piecing the above into a workable framework, I've come up with several chapter names that might help readers delineate and remember the various sections: I. Introduction: Meet Havet Storm: 1 II. Journey to Toprawa: 31 III. Al the Alchemist and Boba Fett: 141 IV. Murder in the Alley: 39 V. Diamond: 173 VI. 182 Riverside: 182 VII. Meeting Facet Anamor: 161 VIII. Carmine: 221 IX. Shuttle: 199 X. Hostel: 50 XI. Al the Alchemist and Boba Fett II: 9 XII. HQ Rebel Alliance, Toprawa: 106 XIII. Fett vs. Diamond: 269 XIV. Imperial Research Station: 274 XV. Facet's Room: 336 XVI. Druth Anamor: 367 XVII. Stealing the Death Star Plans: 400 XVIII. One for the Alliance: 397
Lost Jedi: Book 2: Bounty Hunter
Special thanks to Matthew Smith for providing the walkthrough for the second book! Walkthrough assumes reader has completed the “canonical” Jedi Dawn pathway
510-511-512-1-17-2-13-2-38-15-2-48-2-28-(514)-(526)-37-49-25-(516)-37-39-31-6-53-20-8-45-83-(547)-105-(519)-7-32-9-35-525-57-(538)-55-87-109-96-120-(553)-43-141-(562)-79-137-447-148-164-(573)-190-575-182-(557)-209-43-125-145-(569)-122-162-184-144-134-146-(570)-448-163-(571)-174-222-217-208-(590)-229-268-225-227-237-258-271-304-221-238-289-(601)-294-338-(604)-328-(603)-337-(616)-296-340-348-371-410-420-414-423-(630)-427-434-(631)-(639)-430-432-438-435-444-445 (The End) |
|
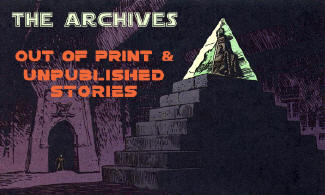
Note: Unpublished. rare. or out-of-print Star Wars stories will be taken down if/when officially released/reprinted |
|
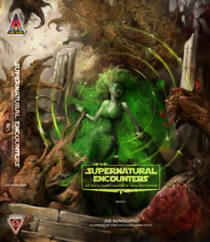
Includes Cult Encounters |
|
Expanded Encounters
Guides and stories inspired by Supernatural Encounters |
|
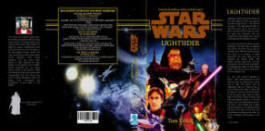
Lightsider
Tom Veitch's unpublished bridge story between Dark Empire I and II |
|
This site's original pre-TCW timeline |
|
|
|
Chronology of the Clone Wars incorporates older stories in relation to the animated series |
|
Everything you always wanted to know about the Star Wars Holiday Special! |
|
Long forgotten, un-reprinted Star Wars adventures and nonfiction literature
|
|
Eddie Van Der Heidjen's page |
|
Robert Mullin's chronology . |
|
TBone's famous Star Wars site include cut-scenes, scripts, and so much more! |